A couple of weeks ago, I gave a talk at a local queens.js meetup about The Wit.nes, a demake I recently created. Though the talk wasn’t recorded, some folks expressed interest in knowing more about it. Below I have provided the slides I used, as well as the content, recreated from memory as best I could. Hopefully this will shed some light on how and why I made this project.

This is the title!

Hello everyone, I’m dustmop, I work as a freelance software develeoper in New York and I like to play, and occassionally make, video games.
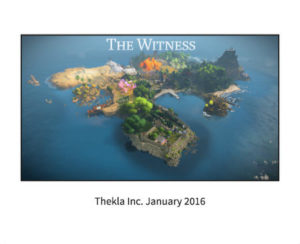
One particular game I recently played, and was quite struck by, was Thekla’s The Witness, released in January of 2016. This game made some waves in indie gaming circles due to its minimal design, unique mechanics, and focus on teaching through example instead of written instruction.
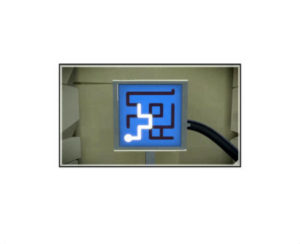
The main gameplay in The Witness involves walking around a lush, 3-D environment of an uninhabited island, finding these mechanical panels, and drawing lines on them. While the game has a very crucial reason for existing in this 3D space, many noted a disconnect: that this core line drawing aspect would still work if extracted out and moved to a more primitive world. It was this observation that made me think of demakes.
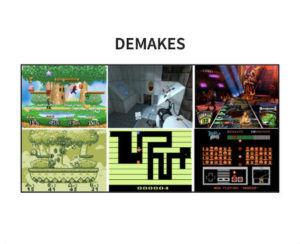
A demake is a remake, but targetted towards older, retro hardware. They exist both as a study of game mechanics independent of technology, and also as a hypothetical exploration of what might have been if a game had been designed at a different point in time. In many cases, they are merely mockups, but some are actual homebrew that are playable on original gaming systems.
From left to right, first is Super Smash Brothers, a fighting game series that stretches across consoles starting from the Nintendo 64, and below it a demake for Nintendo’s much older Game Boy.
Next is Portal, a game well known due to its meme proliferation, and its corresponding demake for the Atari 2600.
Finally, the rhythm game Guitar Hero and an NES demake called D-pad Hero that was released on physical cartridge. This last one is important because it shows how well certain games can translate to the NES.
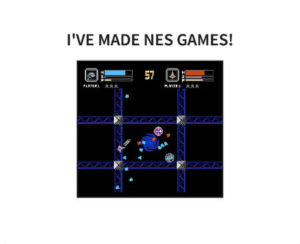
And also because I’ve made NES games!
Star Versus was released March 2015, and is typical game about spaceships blowing each other up. I learned a lot about the hardware from the time I spent making it, and was inspired to make more.
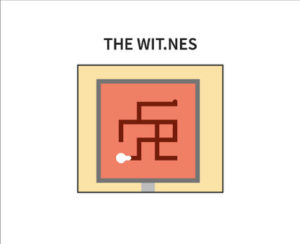
With The Witness fresh on my mind, and the thought of a demakes lingering near the back, I set about on this new project. You can see here a glimpse of the final result, The Wit.nes, and how it sort of resembles the original. Except of course it replaces the 3D world with the 80’s equivalent: an overhead view.
So how does one go about making an NES game? In my case, I had a number of tools that helped speed up the process, some of which I made myself, and others which I did not.
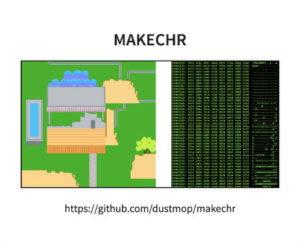
First off, makechr is a tool I created for making NES graphics in the correct file format. Here you can see the image of the garden that your character starts in, and how makechr processes it. (Here I did a live demo demonstrating makechr usage) Note that there are only 4 palettes, each with 3 unique colors plus a shared background color, and each 16×16 block only uses a single palette. Also, the CHR is very important, it’s the raw pixel art without color or position; we’ll be seeing it again soon.
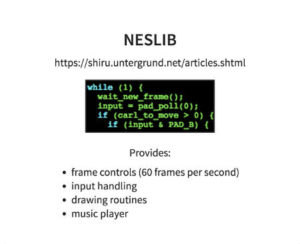
A big help for creating The Wit.nes was neslib, a library that let’s you build games in C. It was created by another NES hacker named shiru, and and provides useful functions for getting input, changing graphics, and syncing to the frame.
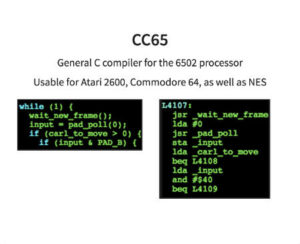
The compiler I used is cc65, which targets the 6502, a very prolific processor in the 80s that is used not just in the NES but many other machines such as the Atari 2600, the Commodore 64, Apple II, and many more. It turns C code like this into assembly, though it’s usually not as efficient as what is shown here. Combined with neslib, this greatly sped up development of The Wit.nes.
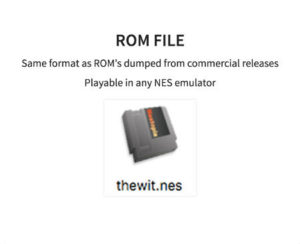
The end result of my build process is a ROM file. These are just like the memory dumps pulled from comercially released games, which can then be played in emulators. Except in this case, the process is reversed, since the ROM comes first, during its development, and only later might end up on cartridge.
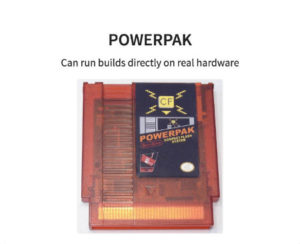
There’s also a very useful device called The Powerpak, which resembles an NES cart but also has a slot for a compact flash card. This lets me transfer a ROM over usb, put it into the Powerpak, and then play it on real hardware to make sure the emulator isn’t doing something wrong. This definitely comes up; though emulators have gotten very accurate, they’re still not perfect.
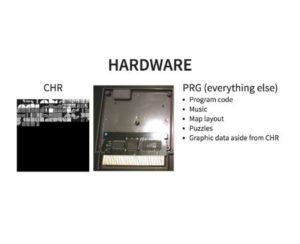
A quick aside into NES hardware. The game cartridges are very simple inside, basically just a PCB board with at least two chips. The first holds all the CHR (the pixel art we saw earlier) and the other, called PRG, holds everything else: game code, palettes, music, map layout, etc.
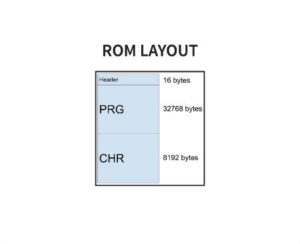
A ROM file has a simple format that resembles this hardware layout. It is a tiny header followed by data sections that contain exactly what’s on these chips, first PRG, then CHR. All the build process has to do is compile some C, link it with neslib, concat with a header and the CHR from makechr, and the result is ready to run in an emulator.
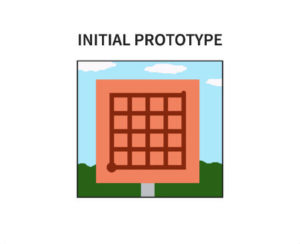
When I started off, this was the very first thing I made; a single puzzle panel to get an idea of how the core mechanic would work. Once I had completed this simple image, I commited to releasing this demo.
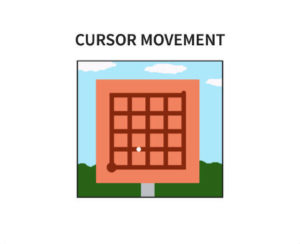
The first part that I coded was a cursor that could move around the puzzle while staying on the rails. I kept this simple by having the rails be 4 tiles apart from each other, which greatly simplified the code. Using neslib I could get controller input every frame, and move the cursor as appropriate.
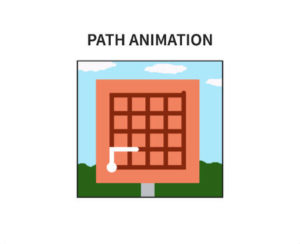
Next was drawing a path behind the cursor. This was surprisingly challenging to get to work, for two reasons.
First, the NES uses tile based graphics, so making the path appear as a solid line meant drawing full tiles, empty tiles, and half tiles (in each of four directions), as the path moved. Also these tiles had to be drawn with the correct timing so that they would correctly overlap the cursor and not show a seam. There’s still some minor glitches in the final game that I wasn’t able to get fixed.
The other problem is that, when the cursor moves, you need to know whether its going forward where it hasnt yet been, or is going backwards over space that’s already occupied, since that decides whether the path is drawn or erased. To do this, I had to make a data structure to represent the map, and it had to have enough detail to work as needed, while still being memory efficient so it could work within the confines of the NES’s limited memory. It took about 3 tries of designing and redesigning to finally get this right.
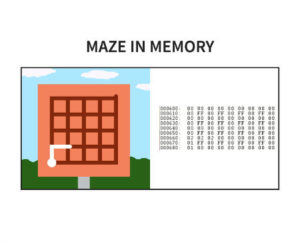
What I ended up with was this RAM copy of the map that mirrors the spaces that can be moved into, and the path’s journey through it. As the cursor moved from a corner into an edge, or vise versa, the map would update with the direction the path was moving, 1 for up, 2 for right, etc. This turned out to be useful for 3 purposes: first the already discussed drawing code. Secondly, to detect when the cursor was colliding with itself (it can’t move where it’s already been), and finally for the puzzle solver.
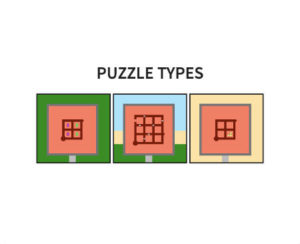
You see, as The Witness (and The Wit.nes) progresses, it becomes about more than just drawing lines through mazes. These additional symbols are gradually introduced, and while its never revealed explictly what they mean, the player is supposed to figure them out by studying examples. I implemented three of these symbols into my demake, and they work the same as in the original game. Each has specific rules that need to be satisfied, and it turns out, having this in-memory representation was instrumental to checking these rules.
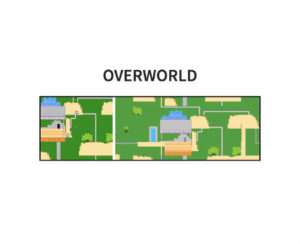
After the puzzles were working, I also added an overworld that used 4-way scrolling, which the player needs to explore to find the puzzle panels. This was also frustratingly difficult to code, as the NES has limited video memory and you have to update the off screen portion while the player is moving around. The math involved gets quite tricky due to the odd screen size, and the need to update colors separately from tiles. Using C to write this code helped massively in figuring this all out.
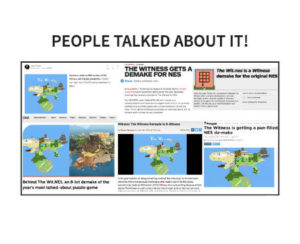
With that the game got released, and people liked it! I received a lot of very kind press, which was super overwhelming. My favorite was Polygon calling it “pun-filled” despite the fact that it contained exactly one pun (the title) and no other text. Overall, I was really happy with how positive the response was!

If you haven’t played it yet, check out The Wit.nes over at dustmop.itch.io and play it completely free!
Leave a Reply